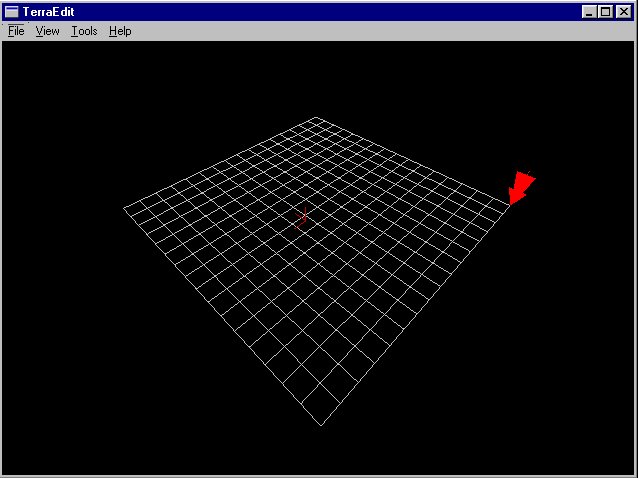
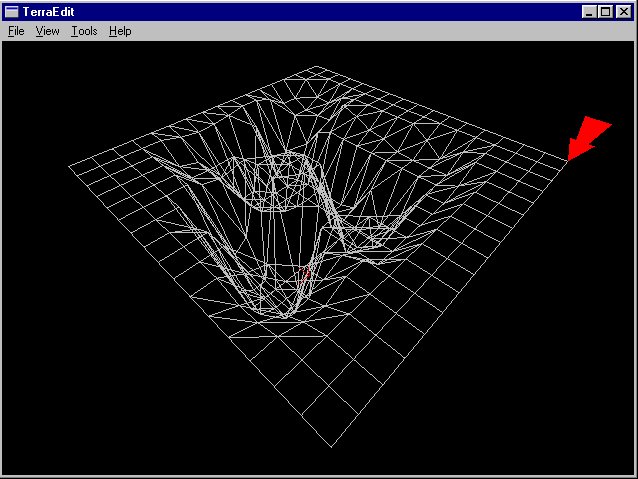
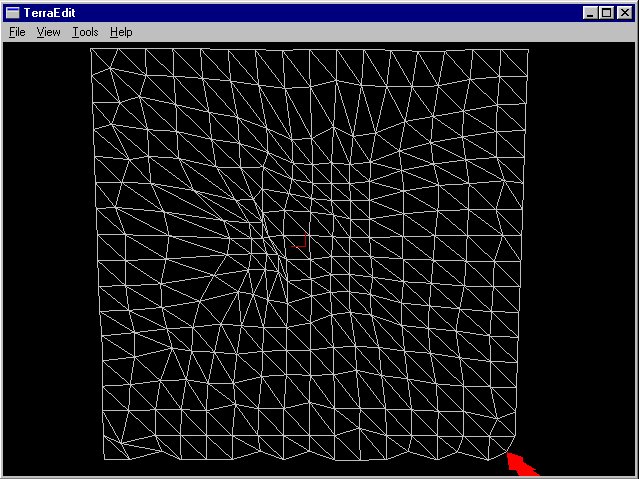
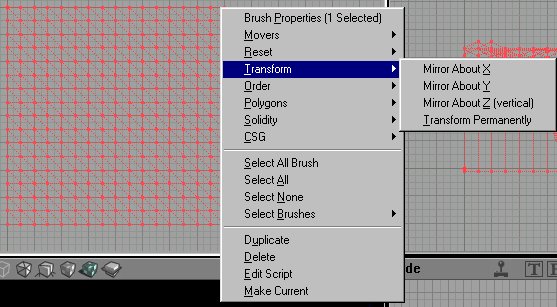
Terra Edit uses the same mouse movement control as in Ued . The red arrow
indicates the currently selected vertex point .
This selection arrow is moved
by the keyboard arrow keys , relevent to your current view angle .
You can
individually manipulte the vertex points on the mesh , or you use a heightmap to
rough out the terrain .
Create the Heightmap . ( I am using
PSP )
NOTE : The initial size of the heightmap will affect the size of
the imported terrain . You can alter the scale / size after the import
.
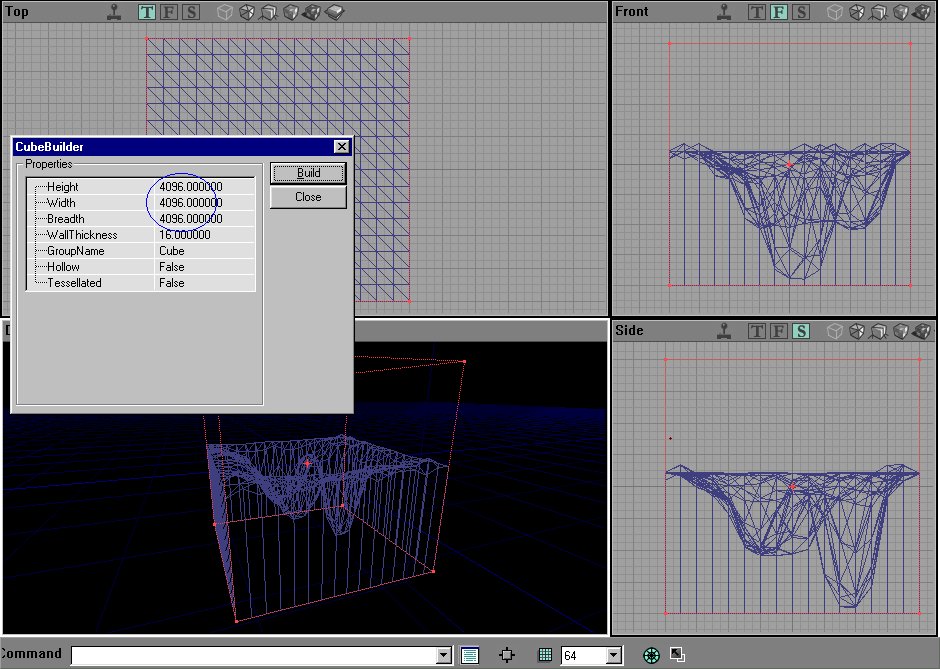
For this tutorial we will use a heigthmap 256 x 256 in size . Terra
edit uses greyscale values for the ' heights ' . White is high . Black is low
.
So...Make an image 256 x 256 . Convert it to greyscale . We are now going
to paint a greyscale image of the terrain ( imagine a black and white sattelite
image of your landscape .) . I use the middle range of values to rough out the
terrain first .
First fill the image with the ' high ' color , and work down
the scale to the lowest areas . I use the airbrush tool for this . I will keep
it basic for this tutorial . You can work at the pixel level , but there's no
need to be exact , as we will tweak the terrain later , in Ued .
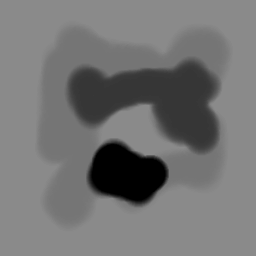
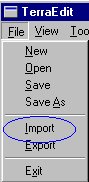
Save the image as a .bmp file , and we will import the heightmap into Terra Edit .
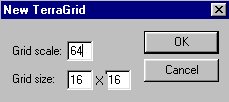
This window will appear . Change the 32 value to 64 . Experiment here for different results . Terra edit may crash , but live and learn . This is where we control the level of detail in the terrain . The smaller the grid scale , the more faces we end up with , raising the poly count .
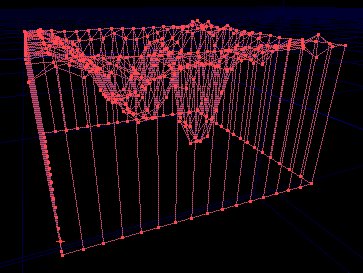
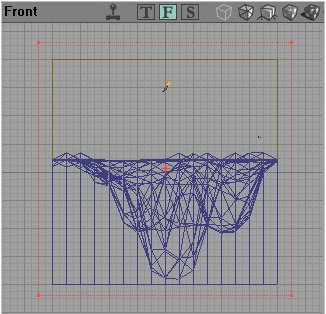
Our result is
Use the smooth tool ( try twice ) to tesselate the mesh further .
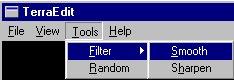
Now...
This next part is very important to avoid bsp holes . We can go over the mesh
, and tweak vertex points to our liking . What we must ensure , is that every
face is a triangle . Thus the entire mesh will be tesselated , and we can edit /
tweak the mesh as we like in Ued .
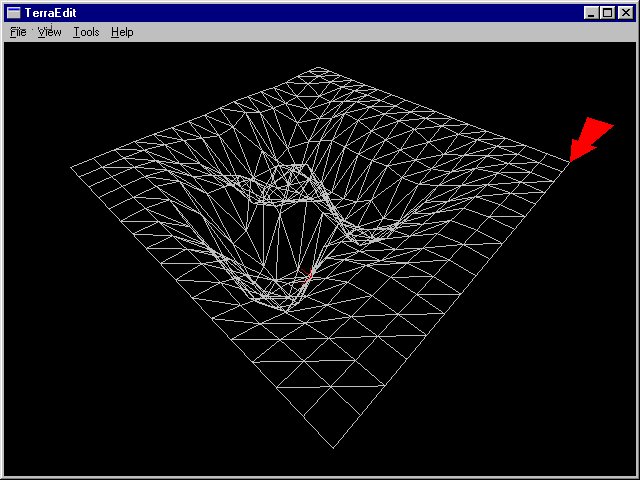
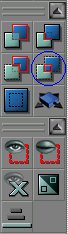
The best way to do this is to veiw the
mesh from above .
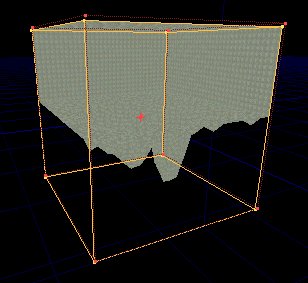
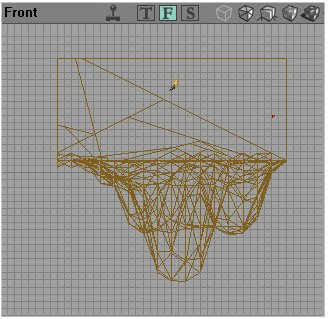
See all the square faces ? They all need to be triangles before we export . Use the arrow to select vertex points , and then by using the Shift , or Enter keys , you can raise or lower the vertex point , and cause the mesh to tesselate . Once again , we do not need to be exact . The only purpose to this is to create all triangles . It may take some time , and go over it a few times to make sure there are no squares left . Zoom in , to be sure .
Here is the same mesh , after I have altered it as said above .
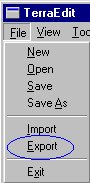
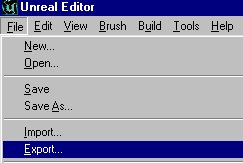
Save the mesh in Terra Edit so you can come back here if needed . If problems occur in Ued , the first thing you should check is if the previous step was not done in full . Export the mesh as a .t3d file , ready to import into Ued .
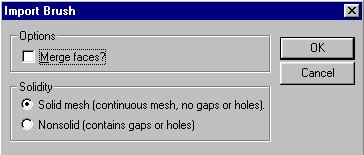
For the purpose of this tutorial , we are finished with Terra Edit . Open Ued .
Import the terrain.t3d mesh .
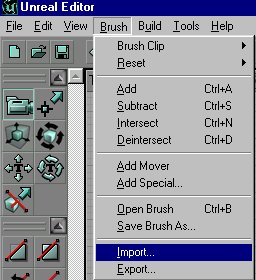
DO NOT check Merge faces .
You will notice when the mesh imports , it may disappear when zooming in on it . Select the brush , and Transform Permanently .
Now is also a good time to check in the top down window , that no ' squares ' exist . If so , return to terra edit , fix , and re-export / import .
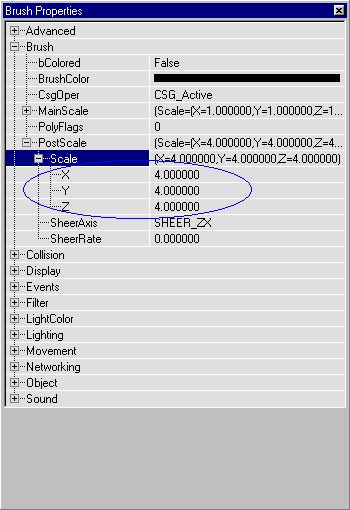
Now to scale the brush . As mentioned before , the initial size of the brush is relevent to the size of the heightmap used ie. If you use a heigthmap of 512 x 512 , then the resulting terrain brush will be larger . Select the brush properties , and for now , lets make the scale increase by 4 .
I prefer to work in the centre of Ued , so I would now move the terrain brush
to a central position . Also , Transform Permanently .
I always like to
increase the grid size , and click the brush to the grid . Do this by selecting
the terrain brush , then select one of the bottom , corner , vertex points , and
right click it . This will ' snap ' the brush to the grid . Now , position the
brush where you like .
Add the brush
Don't panic !
You have added the brush , but see nothing ! We now need to create the ' space ' . Seems like working backwards ? Once again don't panic . There are many ways to do things . This is one way I use .
Make a brush to fit neatly around our terrain brush . In this case , the size is 4096 square . No doubt , someone could work out the math here , with respect to the initial size of the heightmap , the terra edit grid scale , and the scaling after import into Ued . Work in multiples of 256 , and it's easy .
Subtract the brush
What ? The terrain brush is gone !!! All is well (:
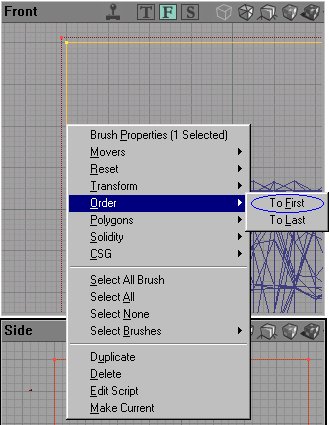
Now move the red builder brush aside , so you can see the subtracted brush ( or press B to hide it . Remember to hit B again to bring it back ! ) . Select the subtract , and we want to alter the order of this brush To First .
Rebuild the map .
Ahhhh. That's better . If it isn't , go back a few steps .
Lets go in !
Click on a face , press Shift-T to select all textures ( Shift-B for all faces of a brush ) , and add a grass / earth type texture . From GenEarth perhaps .
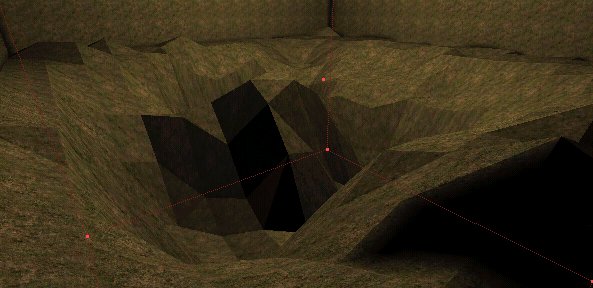
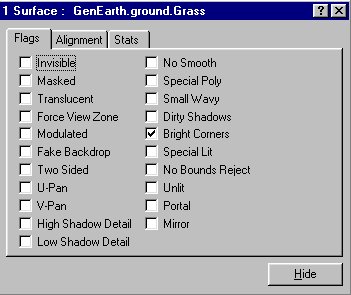
I have added a light to show contrast . I also gave the terrain texture properties values of BrightCorners , and aligned as Floor .
If all goes well , you should now be able to vertex edit the terrain , and tweak it how you like . It is best if you get close with the initial heightmap , to avoid extra work later . Planning , and experimenting is the key .
BEWARE : If you began to alter the terrain brush a lot , you must beware not to overlap faces , have vertex points sharing the same grid position , or other things that may cause bsp holes , and collision problems .
There is another way also , where we end up with one subtract brush , insted of the subtract , and the add .
Create a brush that will surround ( but not touch ) the existing brushes .
Press the deintersect button .
Now we have one brush , which can be subtracted to achieve a similar result . Each way has it's ups and downs . This time it has deintersected quite well , except for this area . I have found that when this occurs , trouble could result , although , Ued seems better at it these days .
You can try moving vertex points around in the area , rebuild , and each time you will get a different deintersection . If you are continually unhappy with the result , use the first method . Either way , I would edit the terrain to my desire , and save the terrain using BOTH methods . If one somehow doesn't work out for some reason , you can import the other . Do this by exporting the Map , as .t3d files . One when you complete the terrain in the first method , and , when you deintersect , export the Brush .
 Export map .
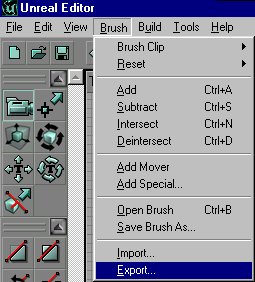 Export Brush .
The result of using the saved , imported brush , to subtract the area . I think this way is best , but only when the deintersection goes well .
Here is the link to the only other tutorial I know of . You will find the
link to TerraEdit there .
http://www.planetunreal.com/realworld/
http://www.planetunreal.com/realworld/terraintutindex.html
Good
luck with your terrains . Planning , and experimenting are both important
.
All files created during this tutorial are included .
Jaspos.