The screenshot you see when selecting a map inside UT is also a custom texture.
Formatting the piture
To be successfuly imported in UT, your picture must be resized to 256x256 pixels.It must also be of type ".pcx" and contain 256 colors in its palette.
- Using Paint Shop Pro :
Load the image and resize it to 256x256. (Shift-S)
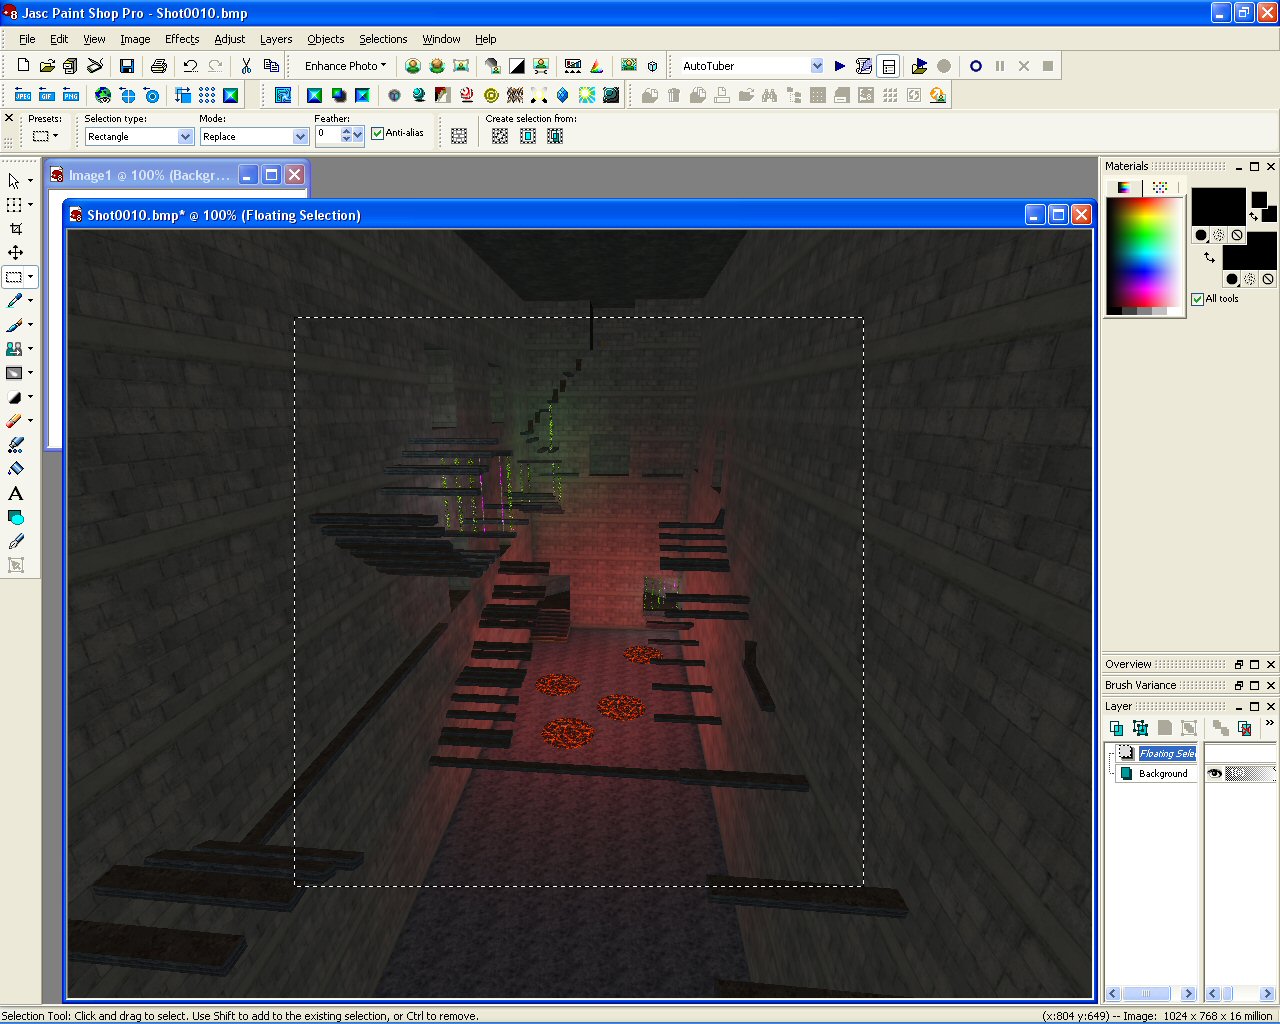
If your original image is not square and you don't want distortion after resizing, just select a square portion of the image with the selection tool and press Ctrl-C Ctrl-V to paste a new squared image before resizing.
Set the number of colors in the palette to 256. (Ctrl-Shift-")
Save your image as ".pcx". (F12)

Screenshots
Screenshots are usually taken from UT.To have a better result, launch your map with no bots, select the menu option "Options => Preferences => HUD" and uncheck the "Display HUD" checkbox. Also select the crosshair color "Custom".
Then goto the menu option "Options => Preferences => Game" and set "Invisible" for the weapon position.
These operations remove everything from your HUD so the screenshot can be taken without any unwanted things in the way.
Type "fly" in the console and move around your level until you find a nice place to take a screenshot.
Press F9 to generate a ".bmp" file wich will be stored in your UnrealTournament/System folder.
Don't forget to restore your HUD when you are finished.
Create a ".pcx" using the method described in paragraph above.
Importing the .pcx in UnrealEd
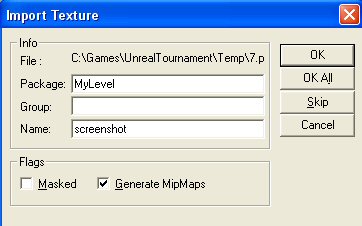
Open the Texture Browser and click on "File => Import".There are two ways to use custom textures, inside the map or in a separate file (package) which will be a ".utx" file.
If you want to put your image inside the map, you MUST use "MyLevel" as package. "MyLevel" is a reserved package name used to store custom textures, sounds, music and so on.
I suggest to leave "Group" empty because that sometimes creates problems.
The texture name must NOT contain spaces and MUST not be the same name as another texture in any package used by the map (UnrealEd bug).
When it's done, press "OK".
If you want your textures in a separate package (a ".utx" file), you must set the package name to the name of the file you want to create.
When you have imported all the pictures you need (or added pictures) in your new package, you MUST save it by pressing "save" in the texture browser. Failing to do so will result in losing the package and make your map unusable if you have already used textures from this unsaved package (you have been warned). If you decide to add textures to an already existing package which you didn't make yourslef, make sure you call it with a different name.
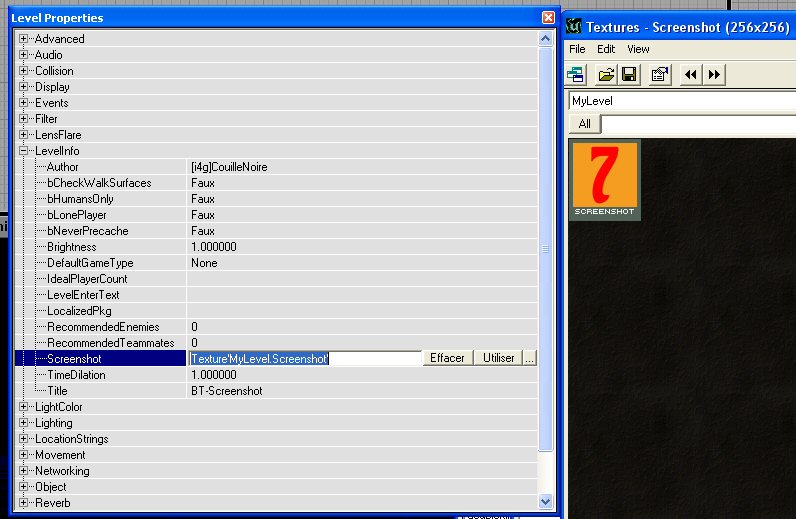
If you add a screenshot to your map, put it in "MyLevel" with the name "screenshot" and no group (best practice).
To make the screenshot appear when you select the map, select the menu option "View => Level Properties" and set the value of "LevelInfo => Screenshot" to your screenshot texture.
Take this opportunity to set the Author and Title values too.
The textures you have imported can now be used in your map like any other texture.